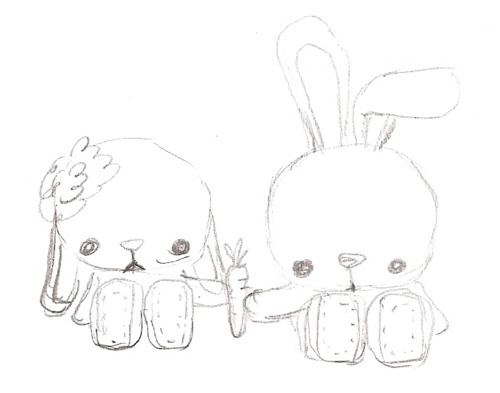
When Craftzine asked me to make a Spring amigurumi pattern for them, I excitedly jumped at the opportunity. Several months ago, I was inspired by a photo I saw on tumblr (there was no source at the time) of a floppy-eared bunny with big feet adorned with a pretty flower. As soon as I saw that photo, I knew I wanted to try making something similar. I recently found out that the bunny was made by Lue and Sue who does absolutely beautiful work. Ryan and I had an idea to use the same pattern to make two bunnies: a boy bunny with ears sticking straight up, and a girl bunny with floppy ears. The boy bunny could be holding a carrot in hopes of wooing the girl bunny! Here is the sketch that Ryan drew up:
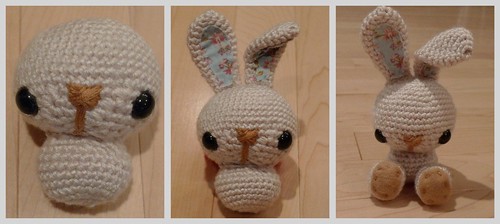
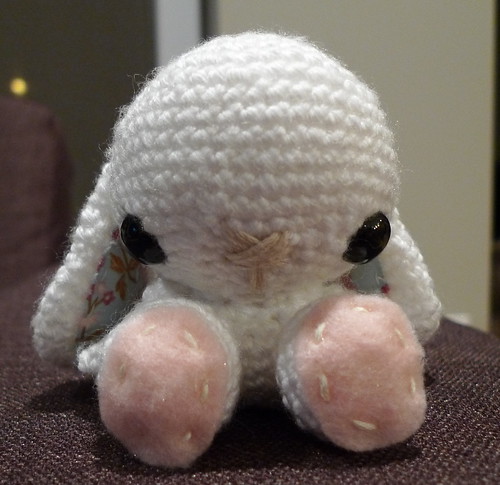
I first worked on crocheting a wide head with big eyes positioned towards the bottom of the face.
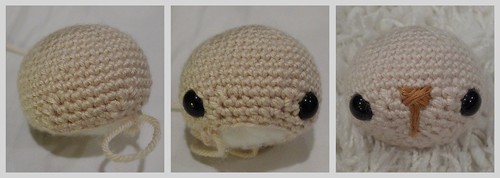
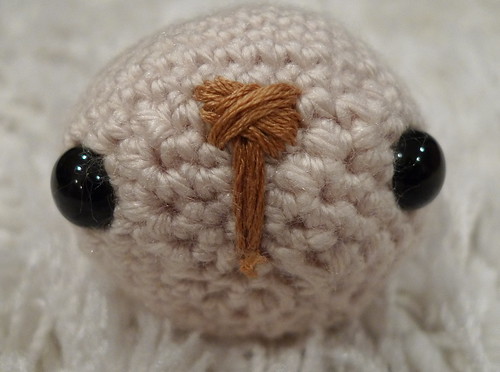
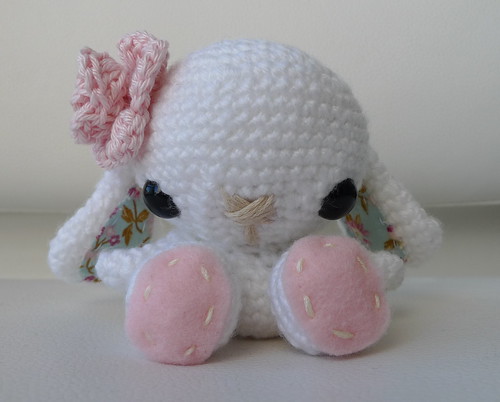
Instead of doing the typical nose I’ve done previously for other bears and bunnies (sewing a small nose on a piece of round felt), we were inspired by the cute noses found on the adorable stuffed animals by Jennylovesbenny where many of the noses extend all the way down the bottom of the head. Here is a close-up of the nose (detailed step-by-step sewing instructions drawn by Ryan can be found on the Craft blog post).
Instead of using felt for the lining of the ears, I decided to try using a pretty fabric as other amigurumi crafters have used. It was fun going to my local fabric store in search of the perfect fabric. I had to find one with a small enough pattern that would show up (fabric with big patterns would not work very well!). It was funny as I asked the sales associate to cut me the smallest amount of fabric possible. She asked me what I was using this for. I answered, “the lining of a bunny’s ears”. She laughed. Most people in there were buying yards and yards of fabric for clothing and and curtains!
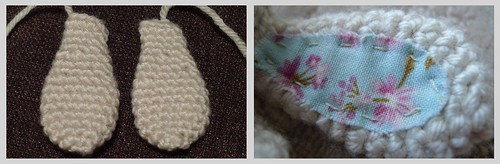
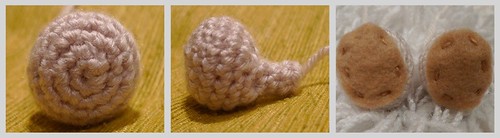
For the feet, I decided to still use felt to contrast the fabric.
Once all the pieces had been crocheted, I was ready for assembly!
I attached the body to the head, the ears to the head (and bent one ear to give him an extra cute look), and then the legs to the body.
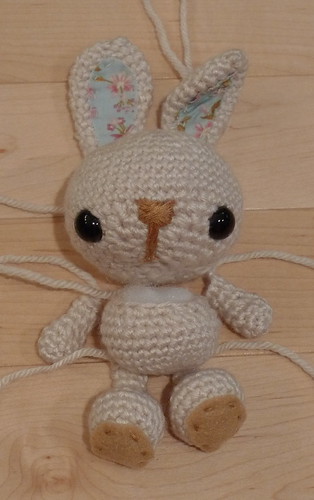
And here he is all complete!
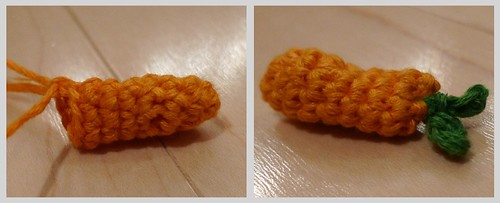
I then crocheted a little carrot for him.
He’s all ready to court the girl bunny! Now it’s time to make her…

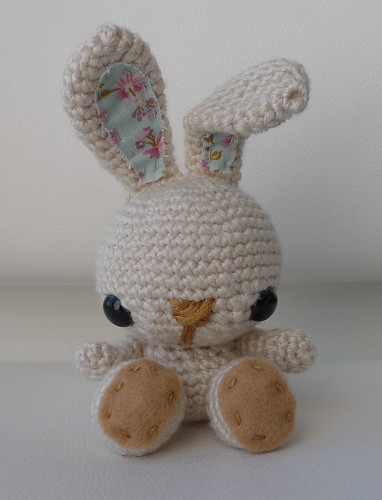
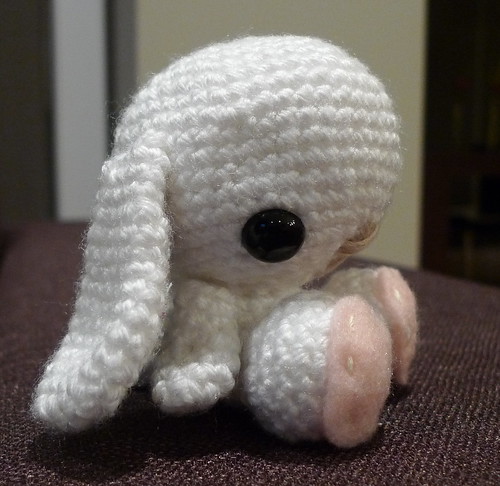
I used the exact same pattern to make this girl bunny, except I positioned her ears pointing down. I think it’s sweet how they have matching fabric for their ears!
You can see where I positioned the ears better in this photo…
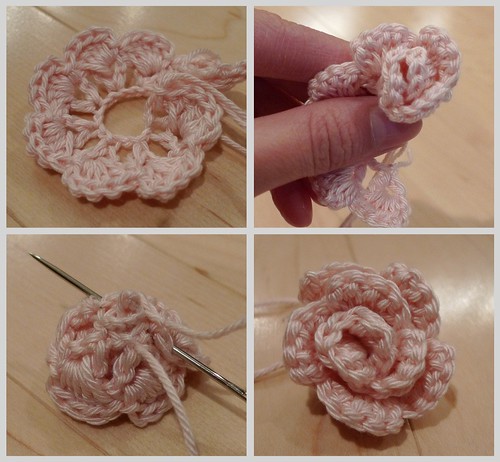
Now it was time to make her decorative flower! I absolutely love crocheting flowers, and I can’t wait to use them in other ways (I want one in my hair too!). I crocheted this round pattern and then rolled it up inwards in a clockwise direction. I then secured the layers by running a sewing needle through them. The result is a beautifully layered flower!
And now to attach the flower to the side of her head. This decorative piece reminded me of trendy birdcage veils or flowers on floppy derby hats that are found on the side of the head too!
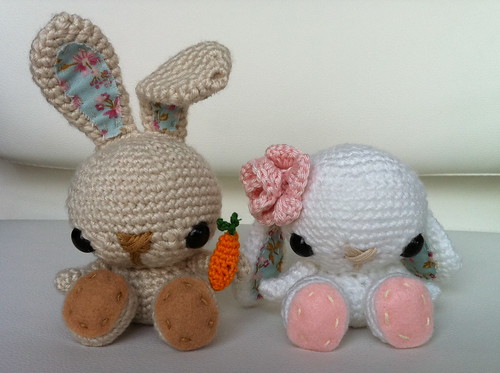
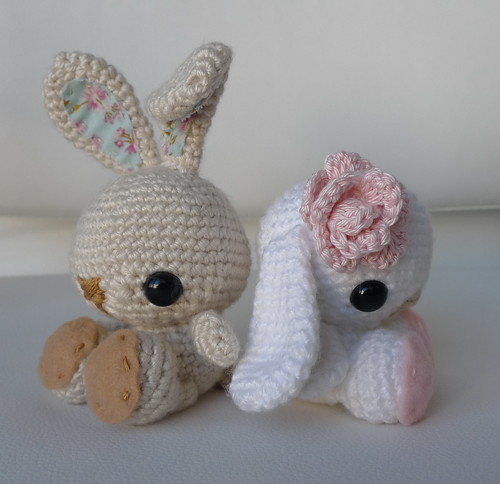
They’re both done! I was so excited to place them side by side!
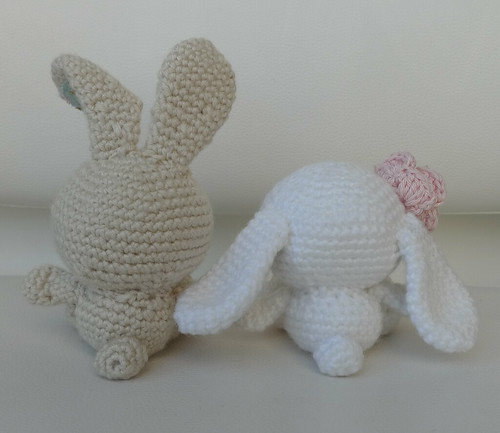
Here they are from the back with their cute little tails to give them balance, enabling them to sit more easily…
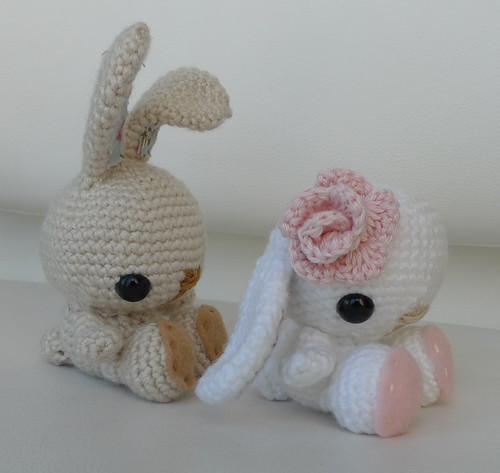
And here they are from the side. I think they look so adorable from this angle! You can see the flower so well.
Here’s another photo of them back to back. I love this photo :)
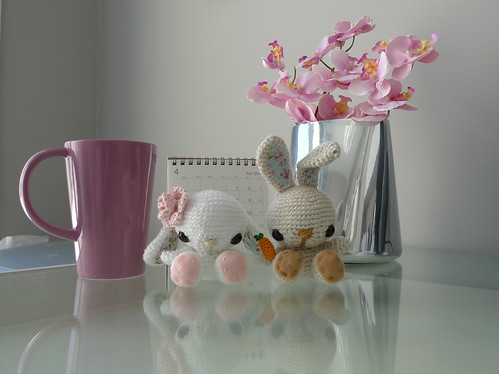
And this is where they now sit happily at the corner of my desk. I like how you can see their reflections in this photo. They keep me motivated!
The pattern for these Spring Bunnies can be found here. Do give them a try! They’re fairly quick to make, and the sky’s the limit with how you can customize your own spring bunnies with all the patterned fabric and colour combos out there for the yarn and felt. Thank you for all your kind words and encouragement, and it’s great to hear how many of you who have never tried to make amigurumi before have been inspired to give it a try! Thank you also to Craftzine who have been very supportive of my work, and for giving me this opportunity!
0 comments:
Post a Comment