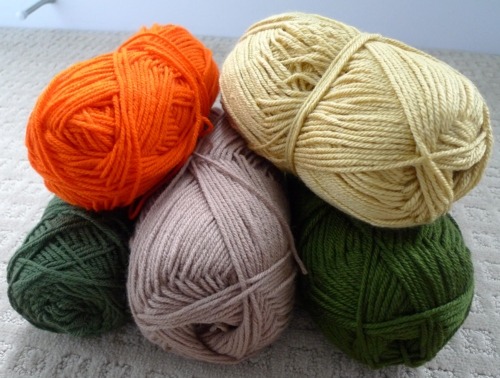
I loved making the Spring Bunnies for CRAFT a while back, so when they asked me to design an amigurumi for Halloween, I very happily and excitedly obliged! The first things that jumped to mind were witches, cats, and pumpkins. I scoured the web for images to see what had already been done. As Ryan and I were brainstorming together, we thought of making a scarecrow since we could include more detail and we were seeing a lot of them during this time of year. After we went out to buy some yarn in fall colours, we excitedly began designing our scarecrow!
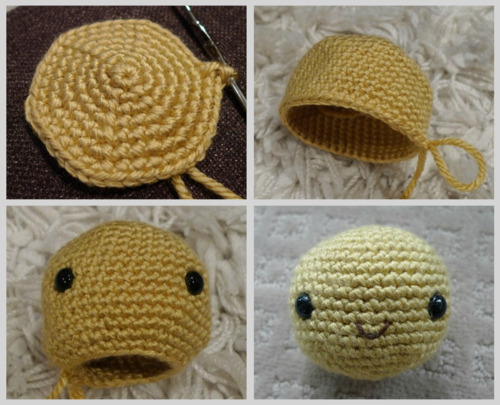
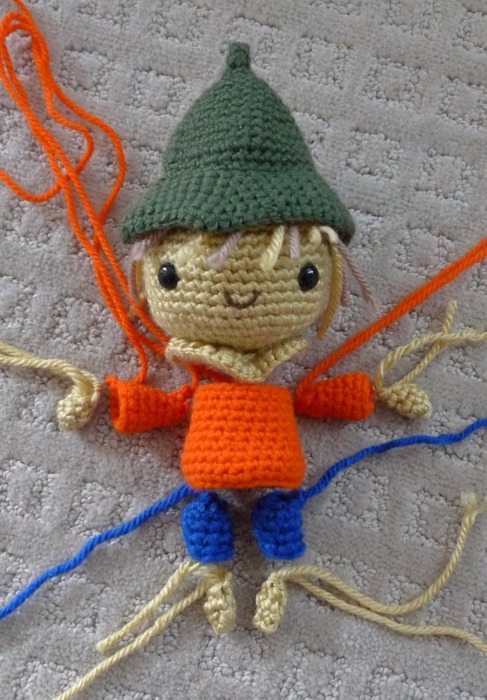
I used gold yarn to crochet a round ball for the head, placed the safety eyes, and embroidered a small smile.
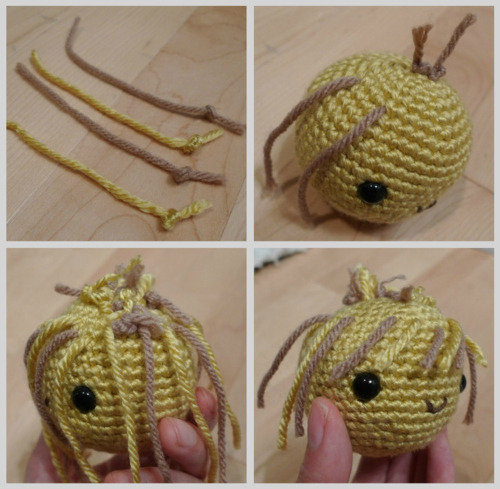
We cut strands of gold and tan yarn for the hair to add dimension. We knotted the ends of the strands and threaded them through the head. When we were done threading them, we cut them to our desired length. Notice how he kind of has side-swept bangs?
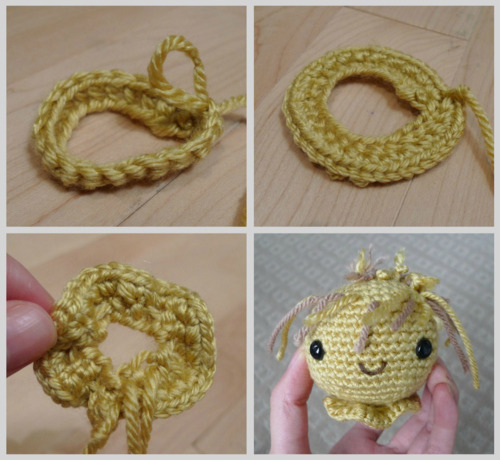
I crocheted a ring and ran a running stitch through the inner portion, causing it to frill up. This ring served as Scarecrow’s collar :)
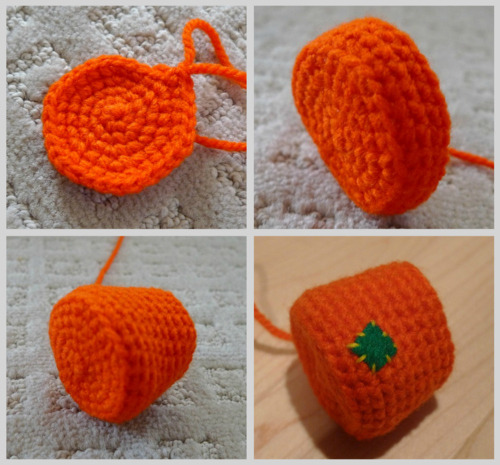
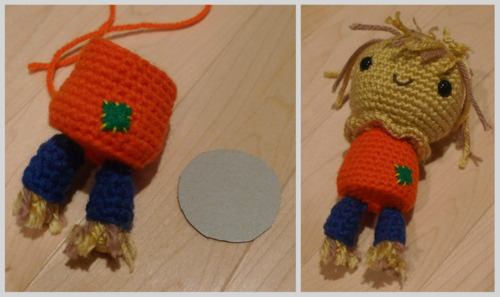
We used orange yarn for the Scarecrow’s sweater and sewed a tiny green patch of felt to add more detail!
I then crocheted two blue pant legs and two orange sleeves.

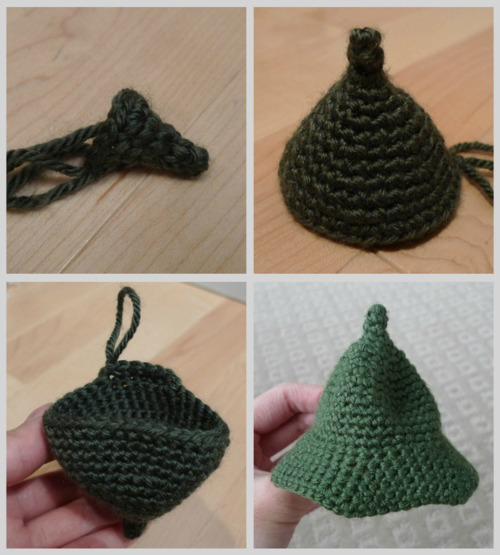
Next, I worked on the hat. I started with a pointy tip and then started expanding. Then, I started crocheting in the other direction to make it flare out on the bottom. Notice how the top part of the hat has the “right side” showing while the bottom part is the “wrong side” (see my post on “The Right Side of Amigurumi” here). This hat could also be used if you were making a witch or maybe a wizard!
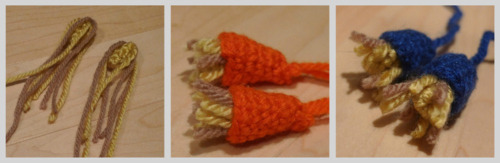
I then crocheted little balls for the hands and feet and got ready for assembly!
We draped gold and tan strands of yarn over the hands and feet to serve as the straw. Next, we glued the hands with the straw into the sleeves, and then the feet with the straw into the pant legs.
I then sewed the pant legs onto the sweater. To help the sweater keep its shape, we placed a circular piece of cardboard inside to provide a sturdy base (otherwise it might round too much after stuffing). Then we stuffed the sweater and sewed it onto the collar.
Now with his arms attached…
And now with his hat and pink cheeks…
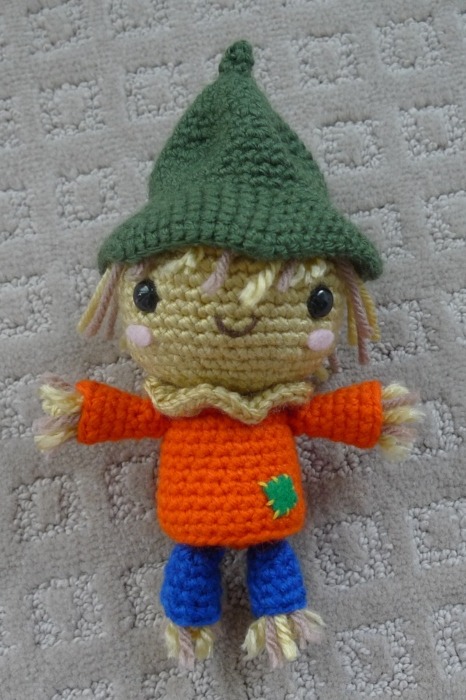
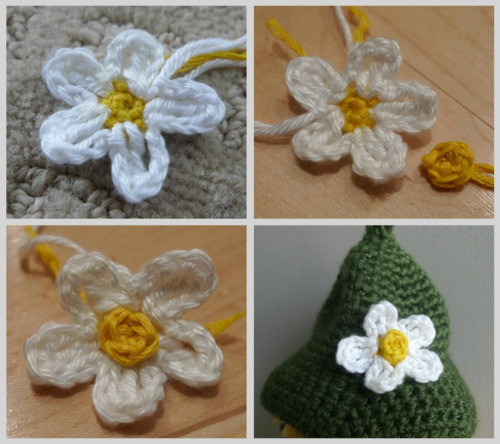
We had one more finishing touch: a beautiful daisy to adorn his green hat! We added another yellow circle in the middle to have it pop out more.
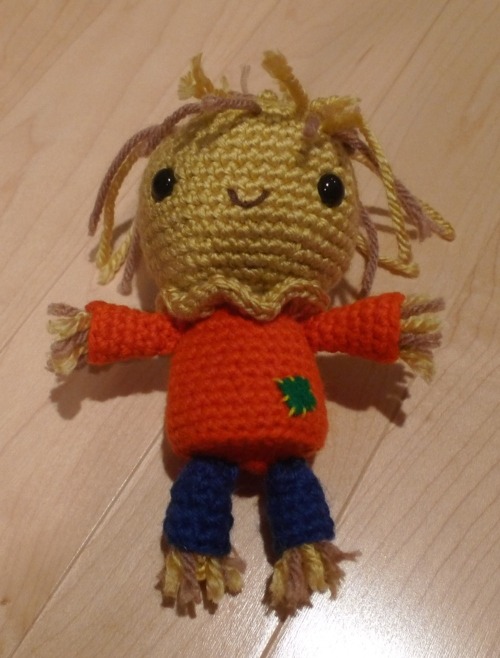
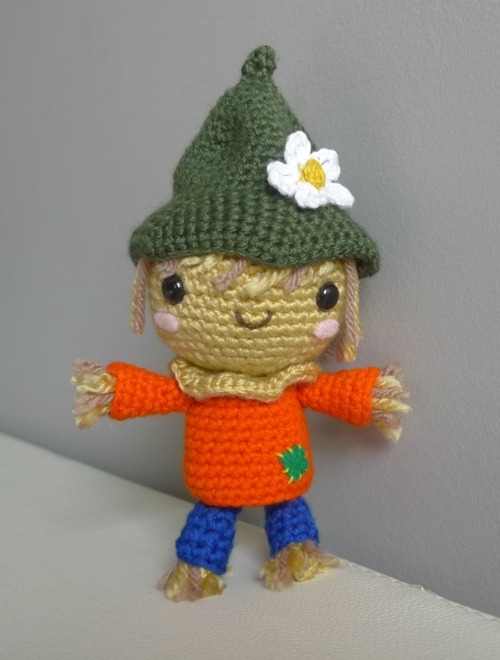
Here is the Scarecrow all complete! He doesn’t look very scary though, does he? I don’t think he’d be able to scare away any crows…
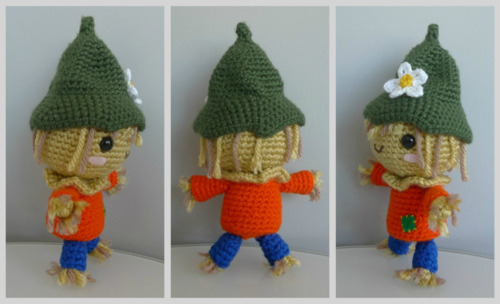
Here he is from various angles:
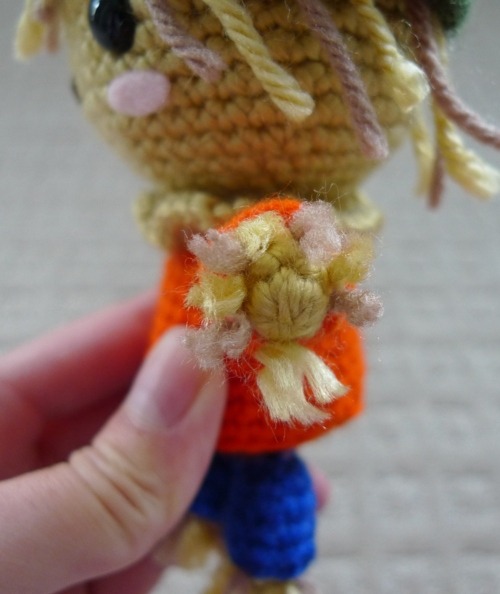
Here is a close-up of the fringe or “straw” coming out of his hands:
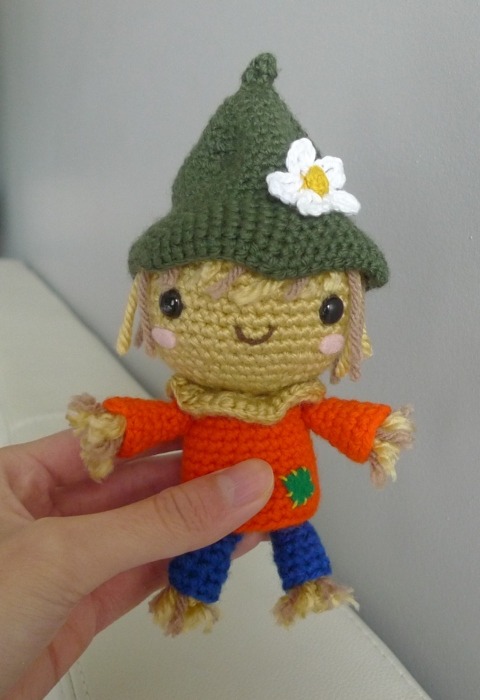
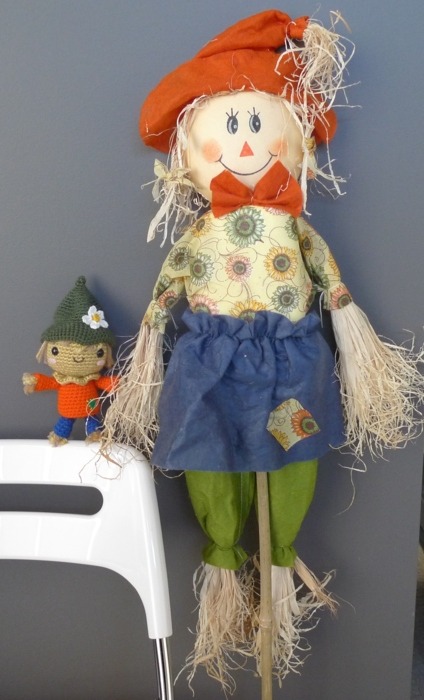
He’s so cute and friendly! Here’s a picture to show his relative size:
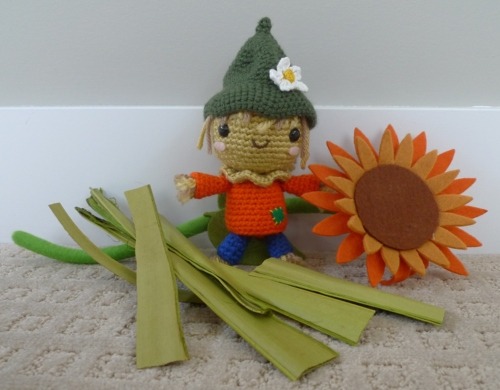
I wanted to take a picture of him with some fall props :)
We also picked up this scarecrow on sale over the weekend to decorate our house outside. Don’t they match nicely together?
This scarecrow would make a great decoration not only for Halloween but for Thanksgiving too! I’m also a HUGE fan of the musical Wicked. I saw it for the first time in New York at the Gerschwin Theatre and I absolutely L-O-V-E-D it. Everything was so magical, from the unforgettable songs to the captivating storyline, the beautiful sets, the costumes, and the vivid characters. I saw it again when it toured in my hometown. I pretty much know all the songs by heart and it isn’t uncommon for Ryan and I to burst into song singing “Popular” or “For Good”. This scarecrow would make a great gift for any “Wicked” or “Wizard of Oz” fan too :D Get the free pattern on the CRAFT site here, and please send me pictures if you end up making him! Have a Happy Halloween!
0 comments:
Post a Comment