I'm calling it the "4 of Hearts Block".
Here's how I made it and how you can make one, too:
This tutorial is for a 12.5" block.
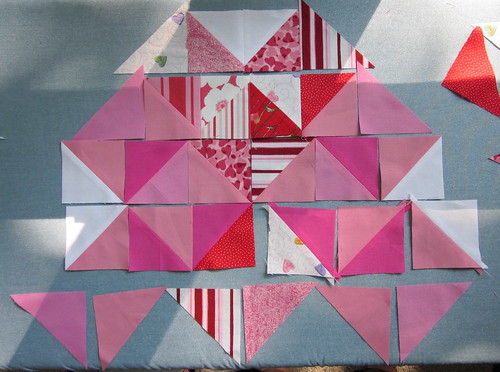
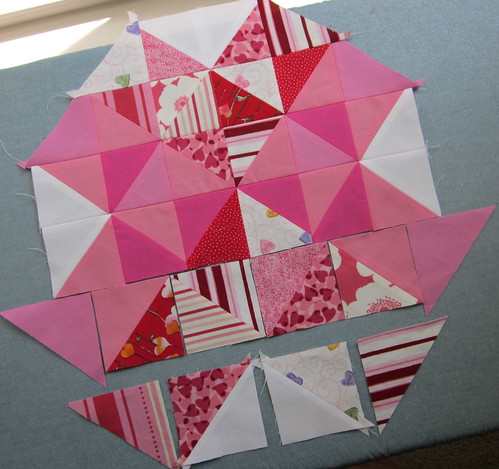
Start by cutting a bunch of 3" squares in the fabrics that you want to use. Cut those fabrics in half diagnally to create your triangles. In the picture above, I've started laying out the pattern of heart shapes.
(I started sewing some of the triangles together into squares and rows.)
(I started sewing some of the triangles together into squares and rows.)
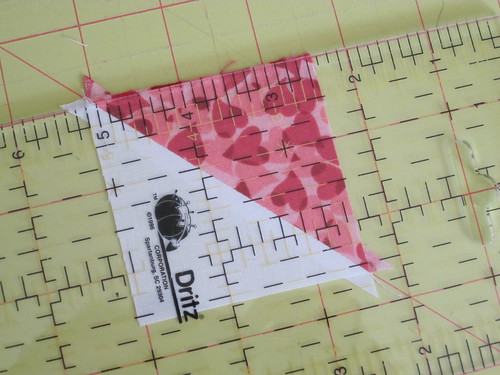
After sewing two triangles together to make a square, it needs to be trimmed to 2.5". Line up the diagonal seam line with the 45 degree diagonal line on your cutting mat and trim each side, creating a 2.5" square. You have to do this with each triangle set that you sew.
Now, you can sew your squares together into rows. Rows 1, 2, 5 and 6 will have a half square triangle on each end. Sew your rows together by matching your verticle seam lines.
Also, you can see in row 5, the squares have been trimmed to 2.5". In row 6, the squares need to be trimmed up, yet.
Also, you can see in row 5, the squares have been trimmed to 2.5". In row 6, the squares need to be trimmed up, yet.
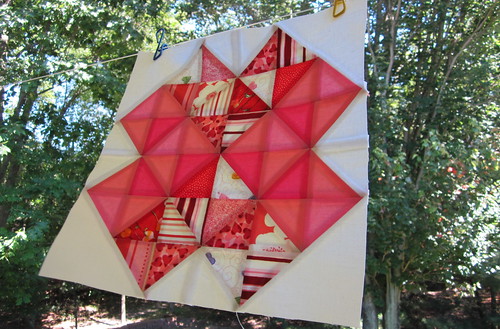
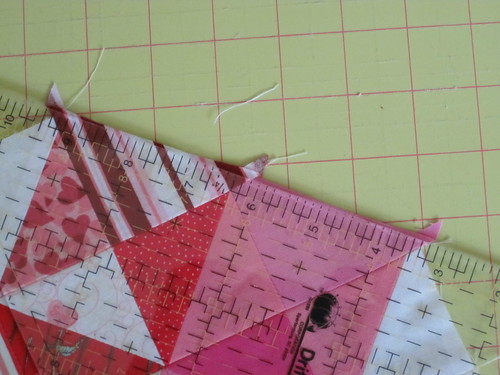
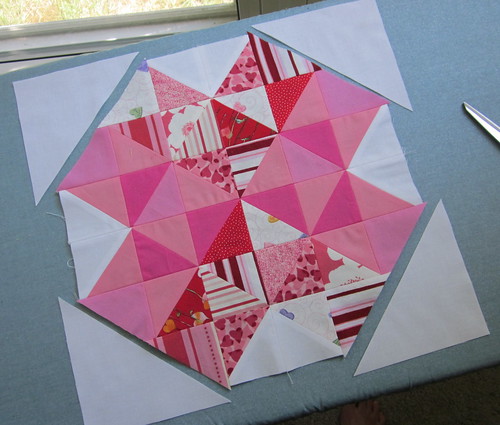
After you have your block sewn together, you need to trim the 4 corners of the block (the diagonal ends of rows 1 & 2, and 5 & 6). Line your ruler up 1/4" above the points of the triangles and trim, giving yourself a 1/4" seam allowance. *you can see better in the picture below how to the 4 corners are neatly trimmed.
Cut 2 - 5" squares out of white for the corners. Cut that in half diagonally to create 4 triangles for the corners. Attach the corners, press, and trim your entire block to be 12.5" square.
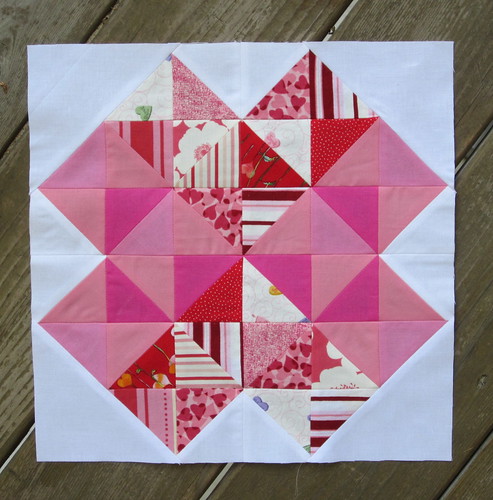
And now you have a nice "4 of Hearts" quilt block!
0 comments:
Post a Comment