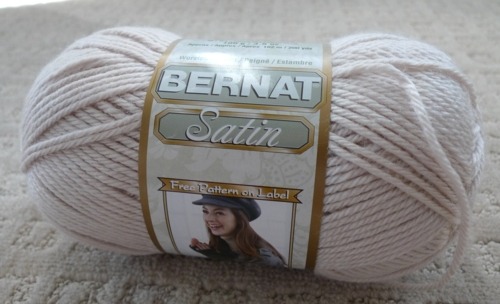
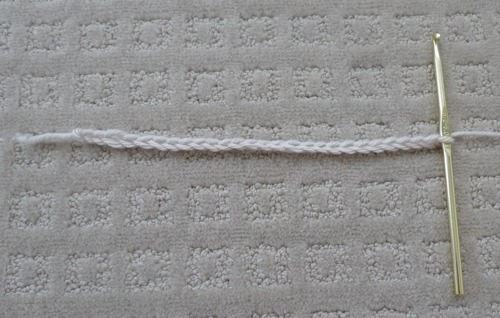
I made up my own pattern for this scarf and started off making a series of 26 chain stitches.
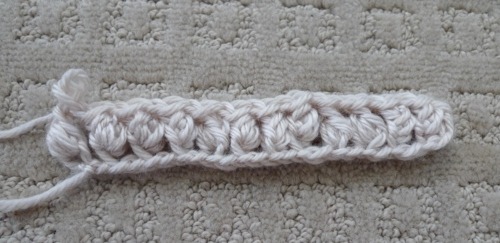
Next I worked 12 puff stitches in the first row with ch-1’s in between.
Then I worked twelve puff stitches in the chain-1 spaces.
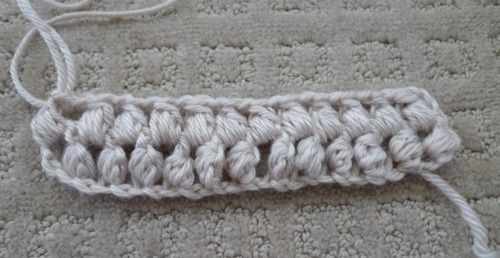
I continued with this simple pattern for a couple more rows…
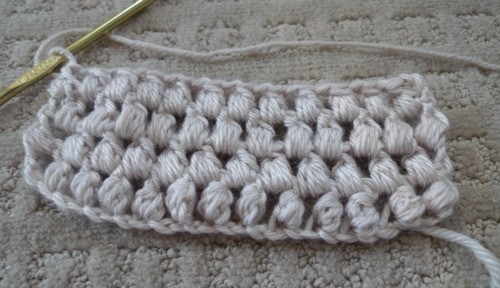
And then many more rows…
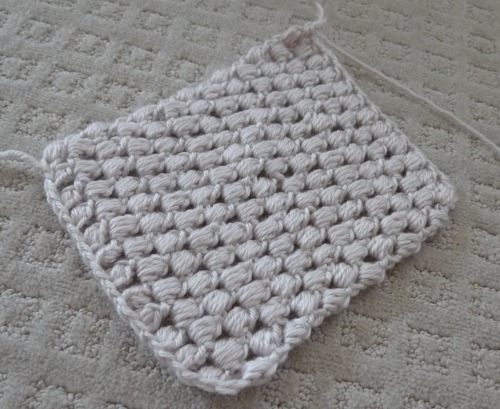
Until the scarf was our desired length! If you want, you could always add some fringe to the ends of your scarf. See a simple video on how to do this here. My mom did not want any fringe, so we left it as is :)
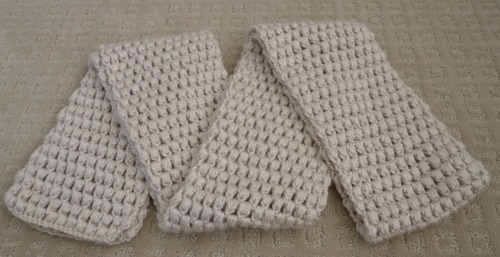
Can you guess how many balls of yarn I used?
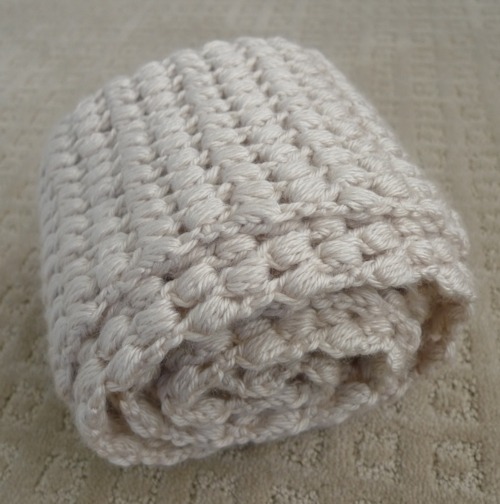
My mom wanted her scarf quite long. After three balls of yarn, it ended up being 94” long.
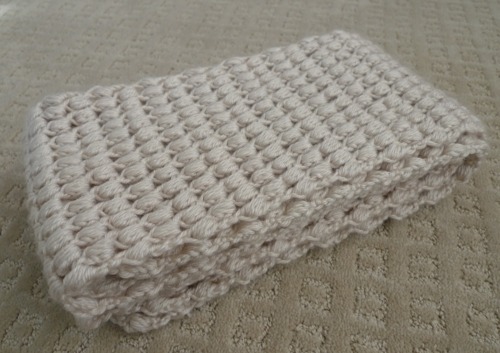
Here is the very simple pattern I made up for this Puff Stitch Scarf.
*****************
Materials:
- 5 mm crochet hook
- Yarn (medium weight)
Chain 26.
R1: Work puff stitch in fourth chain from hook. *Ch 1, skip next ch, puff stitch in next ch*, rep 11 times (12 puff sts).
R2: Ch 3, *Puff stitch in next ch-1 sp, ch 1*, rep 11 times. Puff stitch in last ch-3 space (12 puff sts).
Repeat Row 2 until desired length (for my scarf, until Row 150 or 94”). Finish off and weave in ends.
*****************
Before I gave my mom her scarf, I thought I’d model it so you all could see what it looks like on! We went for lunch at a Japanese restaurant and I loved the beautiful floral pattern of this booth :)
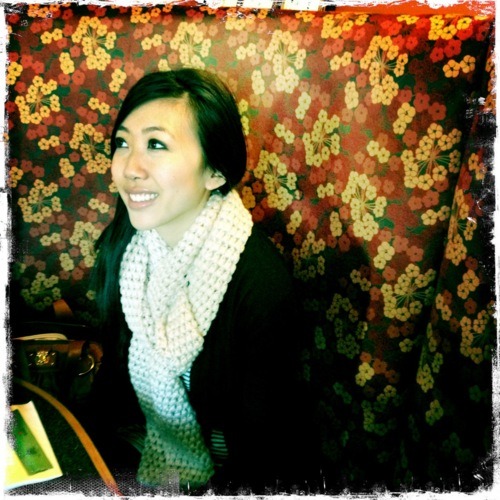
It was a good thing I brought this scarf along because it turned out to be quite chilly and windy that day…
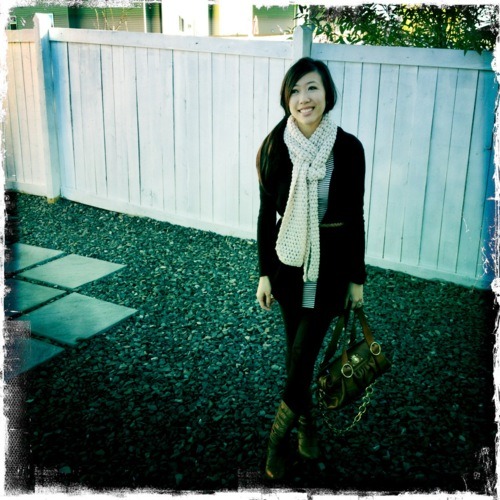
If you’re like me, you’ve probably been wearing your scarves in a limited number of ways. I highly recommend checking out Wendy’s “25 Ways to Wear a Scarf in 4.5 Minutes” video if you haven’t seen it yet! Who knew there were so many different ways to wear a scarf? Wendy of Wendy’s Lookbook is one of my favourite bloggers because of her exhuberant and quirky personality, impeccable style, and creative and beautifully-edited videos and photos. She also has a great story behind her as she overcame so much growing up in foster care to get where she is today. Check out Wendy’s inspiring blog and her helpful videos :)
Here I am wearing my scarf a number of different ways: this is “The Twist & Pull”!
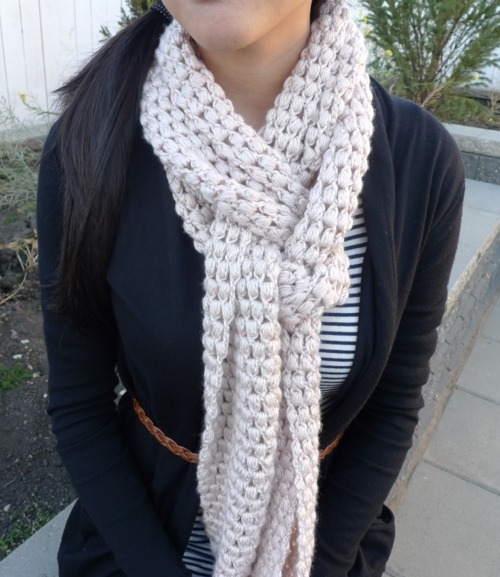
Next up is “The European Loop“…
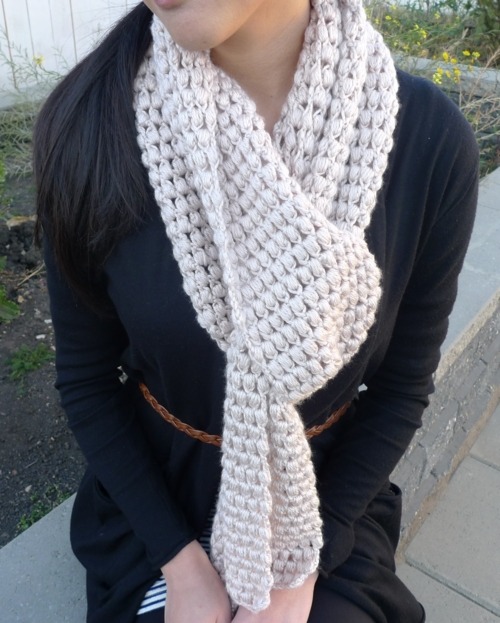
Here we have “The Basic Loop”:
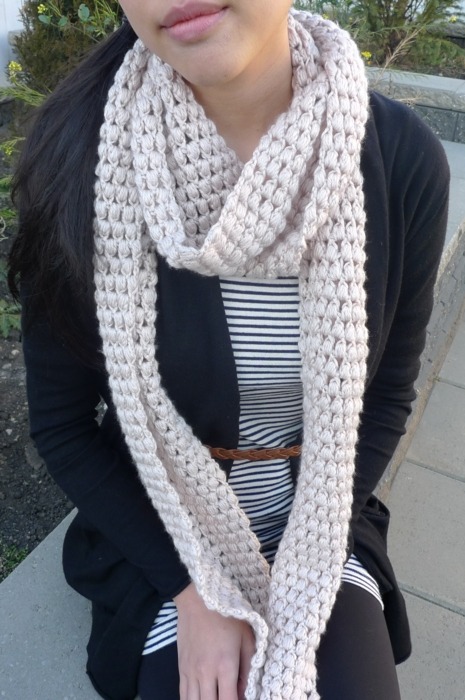
And here I wrapped the scarf around multiple times since it’s long enough to do this :)
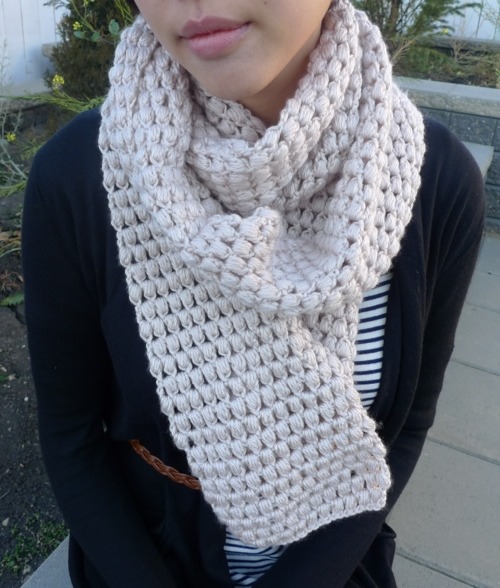
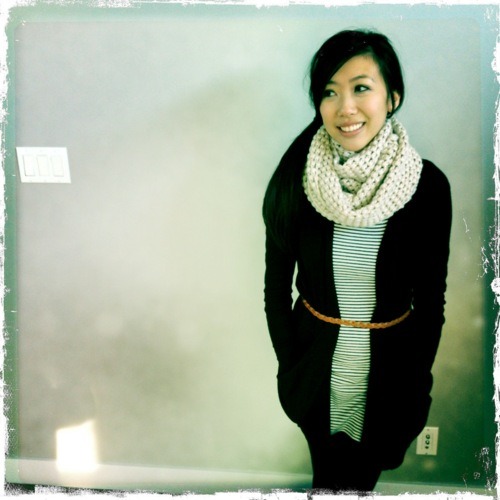
Another great option is to sew the ends together to create a circle or infinity scarf, which is very popular nowadays. The textured look of the many folded layers really frames the face nicely. I absolutely love wearing circle scarves this season! I just may have to crochet myself one of these, maybe in a bright pink or green or some other fun colour :)
0 comments:
Post a Comment