Thursday, December 15, 2011

Flower Headband and Hair-clip Tutorial


Last week I shared this tutorial at It's FUN to Craft while doing a blog swap. I thought I would also share it here.
Start by gathering your supplies: Headband, fabric, hair clips, buttons, covered buttons, needle and thread, small scraps of felt, rotary cutter, and a hot glue gun.


Hair Clip Tutorial
1. Cut your fabric 2 3/4 inches by 22 inches.
2. Fold your fabric in half with right sides outward. Grab your needle and thread and start gather stitching your fabric together.

How to Make Paper Flowers


This tutorial on how to make paper flowers is so easy, you're sure to fall in love with making paper flowers. As you can see, paper flowers can be very elegant and dramatic.

For only a few cents, you could create arrangements for your bridal shower, dinner party, or even a wedding! Making paper flowers for these events rather than buying expensive arrangements is a great way to cut costs and your friends will be very impressed at your creativity!


How to Make Paper Flowers


How to make flowers from dry arecanut


If you are ready to blend your ideas with ample time, you can create exceptional craft works. Have you ever thought of making flowers from dry arecanut? Here is a simple step-by-step guide to make nature-friendly flowers from arecanut.
All you need for this floral arrangement is:
  • Dry arecanut
  • Scissors
  • Green tape and thread
dry-flower-making
With a very few basic supplies, you can create elegant flowers. The resulting product is amazingly lovely, and may even  look like a real flower! First take a dry arecanut and try to open it up carefully from the top. Keep in mind that it is the neatness of your work that results in a stunning flower.
dry-flower-making-ideas
Move apart the dry fibers with care so that you get a flower like shape. Take the scissors and cut out the extra fibers in a floral fashion to achieve the right shape. Refer to the image shown below.
arecanut-flower-making

Wednesday, December 14, 2011

Creating cascading loops


Ok....it's official....I'm addicted to using this quilling comb!! I've been quilling these flowers non stop. I should stop and concentrate on finishing up my card orders! haha! I'm just super excited that's all......it's like having a new toy and I just can't stop playing with it. I just found out another technique from the internet that I can do using the quilling comb and that's how it looks. I love it!

Tuesday, December 13, 2011

Learn to make crochet

how to make a crochet heart for beginners


Monday, December 12, 2011

T-Shirt Flower Ring


These are the supplies you will need:


Hot glue gun
Toothpicks
1 circle piece of felt
A bunch of circles cut from a t-shirt (about the same size as the felt)
A piece of the hem of the shirt


Fold a t-shirt circle over the toothpick and add a drop of glue


Press it down on the felt circle


Keep adding circles over and over again, making them very close together.


When you can't squeeze any more in, it won't look pretty.  So, now you will take the scissors and give it a "haircut" 


Much better!


Make a loop to the desired size with the hem section and hot glue it.


Glue on the flower and you are done!


Such a quick little project with cute results. You could also make earrings, necklaces, add one to a sweater...the possibilites are endless!


It would make a super frugal gift as well!


Just make sure you take it off before washing your hands. No one wants to wear a soggy ring!

wall decor ideaz


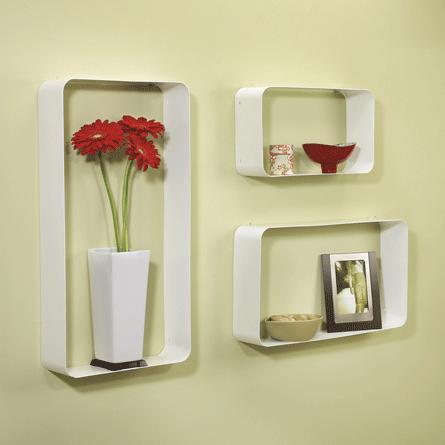
Wall Shelves

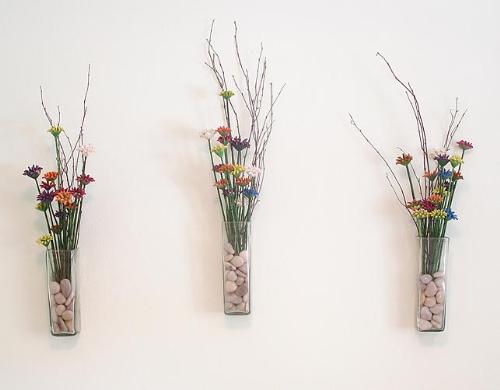
Wall Decorative Vases

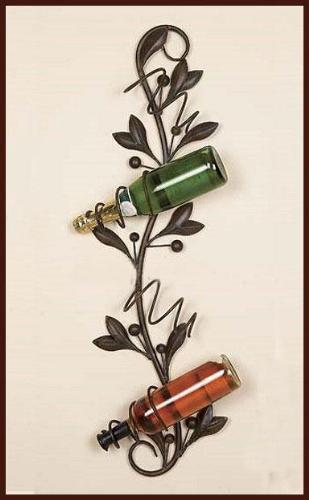
Wall Wine Rack''

Interior Wall Canvas Decorating Ideas


valentine window garland


In an effort to get out of the post-holiday funk that's going on around here, I thought I'd jump right in an do a little Valentine's day decorating!  It's always nice to see some bright fun color added to our space in this cold cold time of winter. 


I picked up some pom poms in various sizes and threaded them on lengths of some transparent thread.  Just tied a knot in the bottom and threaded the pom poms on with a needle and tried to evenly space them.  Then I taped each strand to the trim at the top of the window (not fancy I know, but it works and it'll only be up for a little bit anyway). 


I think these would be fun to do in any window for any season, it's fun, modern looking, and adds a little extra special touch.  This would be a great project to try with an older child who is fairly comfortable with a needle!

Now the tricky part will be to keep the little hands and a wagging dog tail away from it...

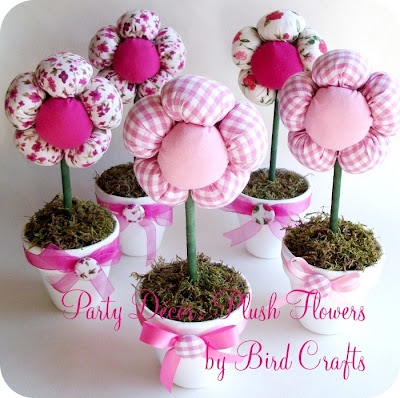
Party Décor Centrepiece: Plush Flower Pots


What you’ll need:

  1. Patterned fabric for the flower petals. I’m using yellow gingham.
  2. White fabric for the flower centre.
  3. A small clay pot
  4. A 23 cm piece of dowel rod or bamboo
  5. Florist tape
  6. Fabric pen or pencil
  7. Needle and thread
  8. Scissors
  9. Floral sponge (oasis)
  10. Natural moss
  11. Synthetic or bamboo fibre
  12. Glue gun
How to do it:

A. The Flower Head

Using a saucer or round lid as a guide, draw and cut 5 circles from your patterned fabric. I used a 10cm diameter lid.


Draw and cut 2 more circles from the white fabric. Now you have 7 circles!


Do a running stitch around the edge of each circle as shown below


When you’ve gone all the way around, pull the thread slightly to get a small “pouch” and fill with the fibre.


Finish pulling the pouch closed and secure with a couple of stitches. 
Repeat for all the other 6 circles.


Now to assemble the flower head. Starting with the petals (patterned fabric), stitch them side by side until you have all the 5 petal joined up.


Using your glue gun, now glue the flower centres (white balls) in the gaps to get the flower head you see above.


B.  The Flower Stalk and Pot


Cover you rod or bamboo stick with the florist tape. 

Stick your floral oasis into your clay pot and using the glue gun, glue the stalk in the centre.

Using the glue gun again (I just want to kiss the person who invented this!!) glue some moss to hide the floral oasis.  

Finally, carefully pull apart a couple of petals on the flower head, apply some hot glue and secure it to the stalk. 

Embellish the vase to your liking. I used ribbon and a fabric-covered button to match.

And there you have it, a cute little Flower Pot that would brighten up any party scene!!


Have fun crafting and partying!! :)